
Interlocking pavers add a durable and pleasing look to your property that has the bonus of increasing the property value of your home. However, it’s essential to take a while and learn the steps it takes to install pavers because a proper one takes more than buying the stones you like and setting them on the ground. Read the following steps and ensure your pavers will last for ages.
Planning and Layout
The first step is deciding where your pavers will go and discovering where there is enough space for them on your property. Then, you (or, with the help of a skilled professional) can draw out and measure your plan on a graph paper before the physical work begins. Every area has to have a slope so water can run off the pavers, so plan it accordingly.
Once that is complete, you can use some material (wood, hose, etc.) and lay it out on the area, forming the outline for your paver area. Then, mark it down with paint a few inches outside of where you made your outline.
Calculating Amount of Pavers Needed
You need to determine the square footage of the area that interlocking pavers will cover. To get information, measure the width and length of the area and multiply it to get the result. There is no perfect measurement, thanks to all the specific angles and curves in your design. Add five to ten percent more to the results to compensate for this – five for the odd curves, ten if you will be cutting a lot of pavers.
Take a single paver stone and measure its width and length. Take that information, and with the square footage of the area, you will be able to calculate the total number of interlocking pavers you will need.
Excavation
Before you dig, figure out the height that the pavers should reach once it settles so that it does not go over. The stones should slope downwards away from your house one inch every few feet depending on the area to help with drainage. Place stakes to mark this decline, then tie strings on the stakes to show which height to follow.
You then calculate the total depth of excavation by adding the inches for the base, the sand bedding, and the paver’s thickness. Start digging according to that depth, and once done, compact the ground with a compacting machine. You will most likely not have one lying around, but hiring an experienced company like Husky Pavers to deal with your interlocking pavers in Murrieta guarantees this since they have all the equipment to make the excavation happen.
Base Material
Next, you have to lay out the base material made from crushed rock with sharp edges such as gravel. The different-sized rocks that are natural to gravel make their compacting easier. The amount of base material laid down should work along with the amount of sub-base material and weight that it will take on. Spread out the crushed rock evenly in layers, compacting them each time. Make sure that it is level and sloped to the height you established.
Install the edge restraints
With all the traffic and weather your pavers will feel, the stones will likely move and ruin if it receives no edging. Edge restraint choices can range from as rigid as concrete or as flexible as plastic.
Sand Bedding
The last step before laying pavers is placing a layer of bedding sand over the base material. This bedding is where the stones will rest and helps protect sand joints from wear and tear:
1. Lay down a one-inch PVC pipe across the base material.
2. Spread the layer of sand to around one inch or one and a half inches thick.
3. Use a 2×4 to spread the bedding evenly across the area.
4. Remove the PVC pipe.
This part of the process can be tricky, so you can ask a hardscaping company to do the leveling.
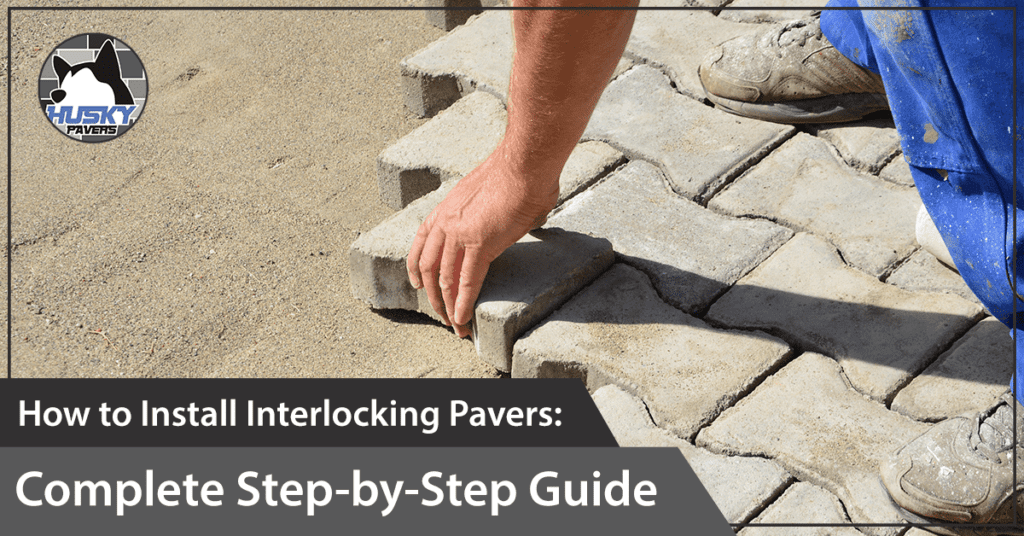
Laying Pavers
Lay the interlocking pavers in the pattern and design you chose on your own or with your contractor. Make sure they are close together as you lay them down – some stones already have pre-made space bumps to make that easier. Check if you have the tools necessary to cut the stones if they need to be the right size for a curve. Once all the pavers are in place, use a plate compactor to set them into the bedding.
Sand Joints and Sealing
You’ll need fine-grain sand to fill in the gaps in the pavers and a broom for this step. Sweep the sand over the surface, allowing it to fill up the gaps. Play sand can work for this part, but specially designed paver sand might be the way for this. Clean and sweep up the sand before the next step.
Seal the area with a binding sealant, which will help prevent the joint sand from eroding and provide plant growth prevention. Sealing also helps protect the pavers from oil, grease, algae, tire marking, and any other type of stain from daily activity.
Maintenance
The best thing about interlocking pavers is not spending too much time on upkeep, but there are still things you can do to protect their longevity and stability. Routine cleaning, sweeping, and resealing will protect the stones from stains, sand erosion, and color fading. You can speed up the process with a power washer, but you will have to add paver sand and sealant again.
These steps should help you set down pavers carefully and effectively. Husky Pavers can meet all your needs for interlocking pavers in Murrieta. We offer a wide range of pavers for your backyard, sidewalk, patio, and other areas. Our installation experts can help you choose the right ones and lay them in the right spot, making all that stress disappear while creating long-lasting, beautiful pavers.
 Get In Touch
Recent Comments