
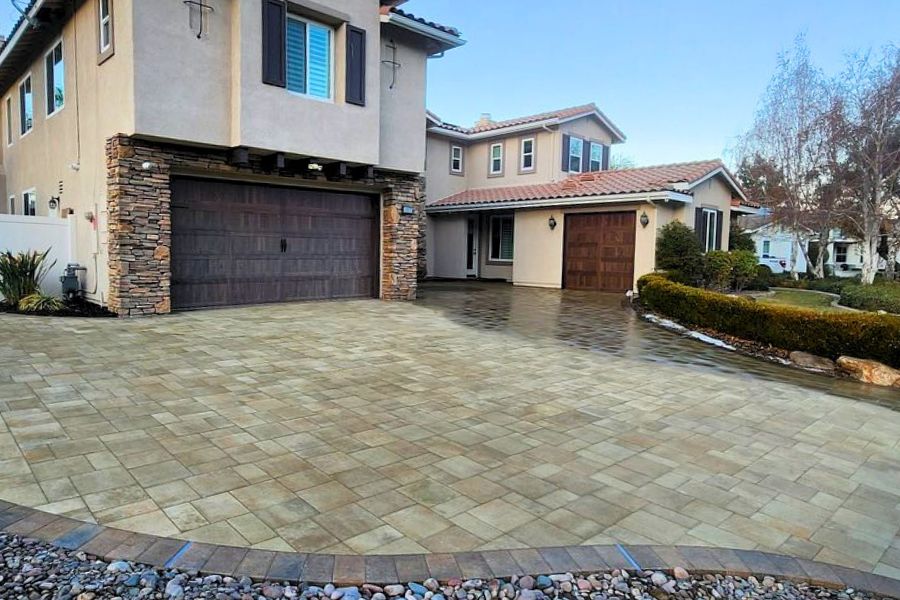
Common Interlocking Paver Installation Mistakes
Installing your own pavers can be a great way to save money, especially if you enjoy DIY projects around your home. However, many homeowners run into common interlocking paver installation mistakes that lead to uneven surfaces, sinking pavers, and costly repairs. Understanding these mistakes before starting your project can help ensure your patio, walkway, or driveway lasts for years.
Even small mistakes during installation can lead to uneven surfaces, sinking pavers, or costly repairs later. Understanding the most common paver installation mistakes helps you avoid problems and create a long-lasting surface.
Below are several mistakes homeowners often make during a paver installation project and how you can avoid them.
Also Read: What to Consider When Choosing Driveway Pavers
Common Paver Installation Mistakes Homeowners Should Avoid
Paver Installation Mistake 1 – Using Dirt Instead of a Proper Base Material
One of the most common paver installation mistakes is backfilling the base with dirt. Dirt may seem convenient, but it shifts easily under weight and pressure.
When dirt compacts, it can shrink by as much as 30 percent over time. This settling may happen slowly as vehicles, foot traffic, and weather affect the area. For example, ten inches of dirt can eventually compress down to about seven inches.
As the base shifts, pavers can sink, rotate, or separate.
Instead of dirt, use crushed gravel or similar compactable base material. Gravel provides better stability and supports the pavers evenly. A strong base significantly reduces the risk of movement and settling in the future.
Paver Installation Mistake 2 – Installing a Base That Is Too Shallow
Another common paver installation mistake involves digging too shallow when preparing the base. Many DIY installers assume they have enough base material, only to realize later that the area settles because the base was not deep enough. Proper base depth depends on how the space will be used.
Typical base depths include:
- Driveways and parking areas: 6 to 10 inches
- Patios and walkways: 4 to 6 inches
If your property has weaker soil or experiences heavy rainfall, you may need to add another two to four inches of base material. Creating the proper base depth helps ensure the pavers remain stable for years.
Paver Installation Mistake 3 – Not Compacting the Base Properly
Failing to compact the base correctly is another frequent installation mistake. A paver surface must sit on a level and stable foundation. If the base contains bumps, soft spots, or uneven areas, the pavers above it will shift or settle over time.
After spreading the base material, compact it thoroughly using a plate compactor. Run the compactor both horizontally and vertically across the surface. This process helps create an even foundation. Ideally, the base should not vary more than about one-eighth of an inch in height across the surface.
Paver Installation Mistake 4 – Improper Bedding Sand Installation
Bedding sand plays an important role in paver installation, but many people misunderstand how to use it correctly. While dirt should never serve as the base, bedding sand sits above the compacted gravel layer. The sand helps create a smooth surface and allows the pavers to settle evenly.
However, too much sand can cause problems. Thick layers create soft spots that allow pavers to shift.
The correct method involves screeding the sand layer. To do this:
- Place guides slightly above the gravel base.
- Spread the sand evenly across the surface.
- Level the sand using a straight board or beam.
Keep the sand layer around one inch thick. Anything deeper can cause the pavers to move over time.
Paver Installation Mistake 5 – Sliding Pavers Instead of Using the Click and Drop Method
Another common paver installation mistake occurs during the actual placement of the pavers. Many people place the paver flat on the sand and slide it into position. Unfortunately, sliding the paver disrupts the leveled bedding sand underneath. This movement can create dips, uneven surfaces, or gaps between pavers.
A better approach is the “click and drop” method. Hold the paver slightly above the surface, align it with the neighboring paver, and drop it into place. Most pavers already include built-in spacers, so you should not add extra space between them. Allowing the pavers to sit naturally ensures consistent spacing across the entire surface.
Paver Installation Mistake 6 – Creating Long Linear Lines in the Pattern
Paver patterns affect both the appearance and durability of your project. A poorly planned layout can weaken the overall structure and reduce visual appeal. Avoid creating long straight lines that extend more than about nine feet. Also, avoid allowing four corners to meet at the same point, as this weakens the pattern.
Instead, choose interlocking patterns that distribute weight more evenly across the surface. Popular options include:
- Herringbone patterns
- Running bond layouts
- Basket weave designs
Planning the pattern before installation helps ensure the finished surface looks attractive and remains structurally strong.
Avoiding Common Paver Installation Mistakes
Paver installation requires careful planning, proper materials, and attention to detail. By avoiding these common interlocking paver installation mistakes, homeowners can create patios, driveways, and walkways that remain stable for many years.
Taking the time to build a strong base, install the correct bedding layer, and follow proper placement techniques will protect your investment and improve the appearance of your outdoor space.
If you want professional results without the risk of installation mistakes, working with experienced contractors can make the process much easier. Contact Husky Pavers today for a free consultation!